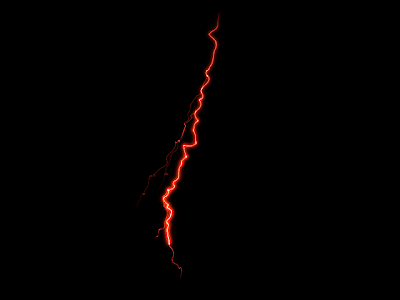
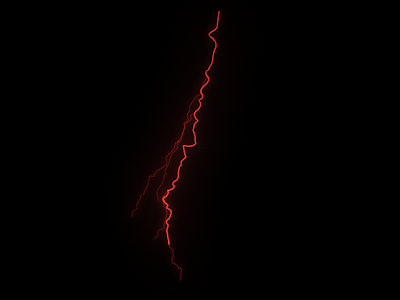
In the Rendering Menu, do Paint effects -> Paint Effects Tool, then Paint effects -> Get Brush... In the electrical folder, choose lightningOrange.mel. Now in the viewport, draw a small curve, and a stroke of lightning will appear. Render this in Maya Software, and you get a nice stroke of lightning. Play your time line, and you'll see it's already set up for electrical animation.


Some limitations are immediately obvious: you can't render in Mental Ray, you can't deform the lightning in any way, and, probably worst of all, you can't easily control the opposite side of the paint effect that is not attached to the curve. This is irritating because, by default, the "source" end of the lightning is at this opposite side.
The first step to a more interactive lightning effect is converting to geometry. Select the paint effect stroke, and do Modify -> Convert -> Paint Effects to NURBS. Render again, and it will look slightly different, but at least you can now render in mental ray (Be sure to set the anti-alias settings high enough or you will get breaks in the thin geometry -- easiest way is to just use the Production quality preset). You can try to approximate the look of the original lightning bolt by tweaking the Shader Glow attributes (more on that later).

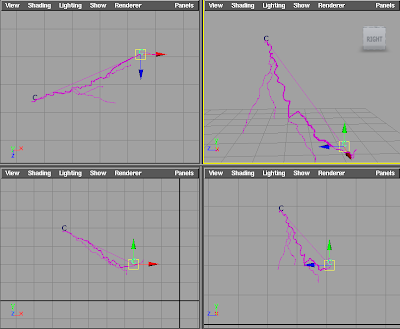
As geometry, you can do now manipulate it with deformers. A quick, dirty way of creating source and end "locators" is to use a control curve. Do Create -> EP Curve Tool options, and in the options select a Linear curve degree. Now place two points for the curve, and move the control points to the two ends of the lightning. Under the Animation menu, do Create Deformers -> Wire Tool. In the outliner, select the strokeShapeLightningOrange1Surfaces group node (the surfaces to deform), and press enter. Then select the curve1 curve (the wire deformer), and press enter. Now you have a curve whose 2 ends can be used to place your electricity effect.
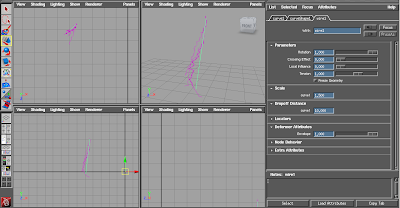
There might be some issues with the deformer, depending on your default setup. Select your curve1, and in the Attribute editor select the wire1 tab to get attributes for the wire1 deformer. Increase the Dropoff Distance if any part of the lightning is "sticking" to its original position. Increase the Scale to increase the size of the lightning geometry and reduce the stretching effect. Push play in the timeline -- it's still animates fine!

Now it's kind of irritating to have to get into component mode every time you want to move the lightning, so use Clusters to transform the curve CVs individually. Select one of the curve's CVs and do Create Deformers -> Cluster. Repeat for the second CV. Now you have two clusters to move the curve points of the lightning.

Finally, let's fix the look of the lighting. In the hypershade, select the Shader Glow node, and look at its attributes in the Attribute Editor. The first thing you should do immediately is turn off Auto Exposure. Under Glow attributes, set Glow intensity to 0.5, and Glow spread to 0.035. Under Halo attributes, set Halo intensity to 1.0 and Halo spread to 0.1. Use these as a starting point for your own tweaks. You can change the color of the lightning mainly by changing the color of the Incandescence on the lightningOrange1Shader node.


No comments:
Post a Comment